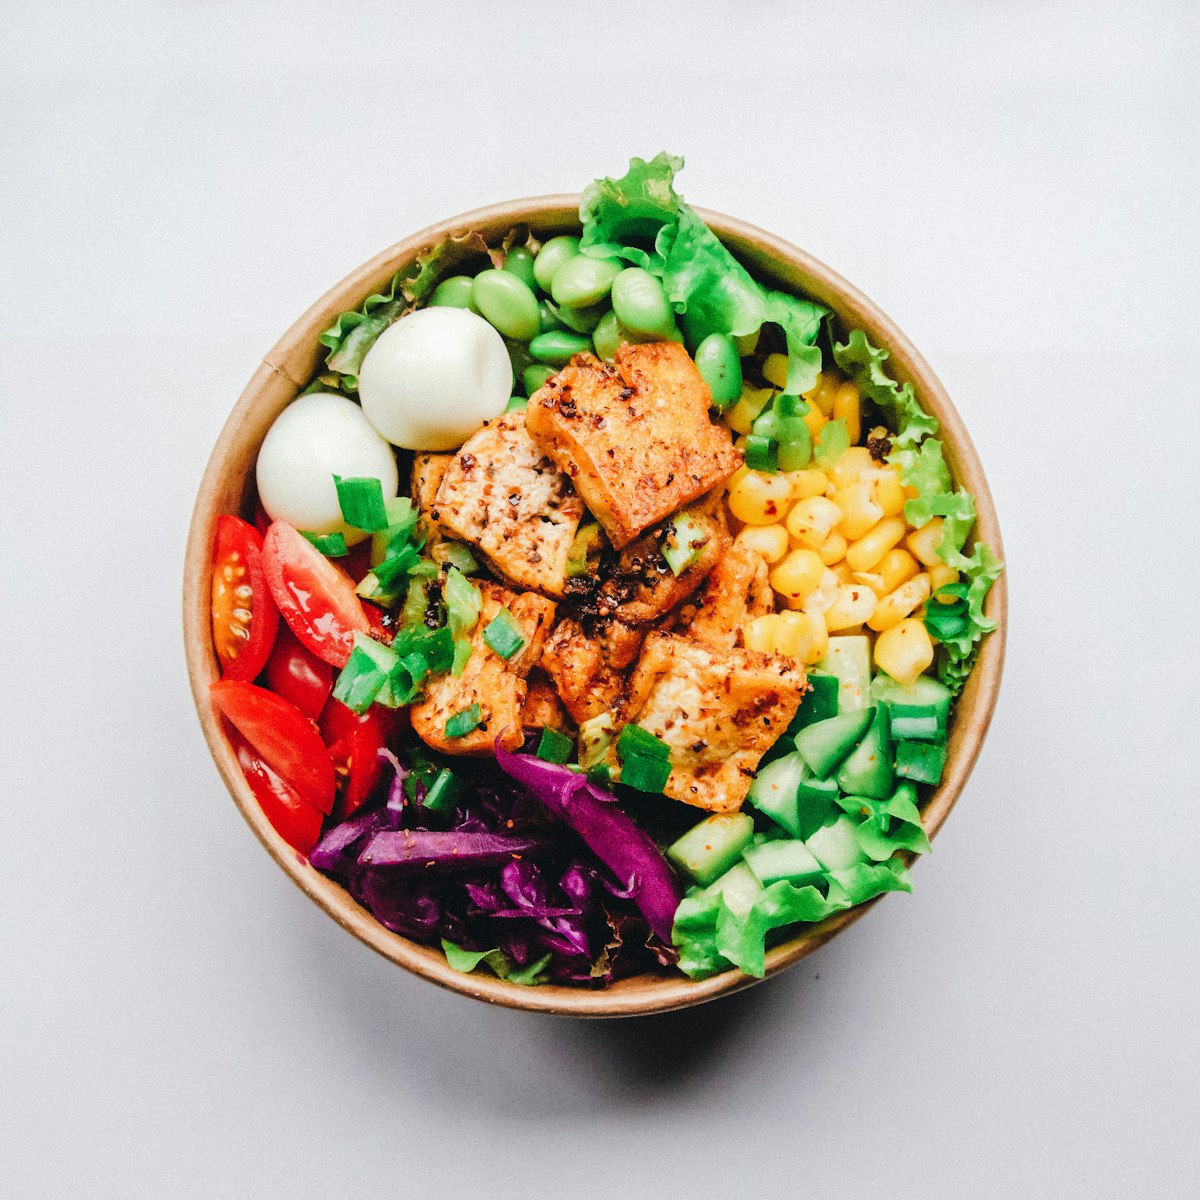
Why Photos Drive More Orders
Research from menu-engineering studies shows that dishes with photos sell up to 30% more than those without. On a digital menu, every item can have a photo — so there's no excuse not to use them.
1. Use Natural Light
Place your dish near a window and shoot in the morning or late afternoon. Avoid the harsh midday sun. Natural, diffused light reveals textures and colours without creating harsh shadows or washed-out highlights.
2. Shoot from Above or at 45°
A flat lay (bird's eye view) works brilliantly for pizza, salads, and sharing platters. A 45° angle suits tall dishes like burgers, stacked pancakes, or layered cocktails. Experiment with both and pick the most flattering angle for each item.
3. Keep the Background Simple
A clean wooden table, a slate board, or a plain white plate is all you need. Busy backgrounds distract from the food. Your dish should be the unambiguous hero of every image.
4. Shoot on a Modern Smartphone
You do not need a professional camera. A recent iPhone or Android flagship produces more than enough quality for a digital menu. Enable portrait mode for attractive background blur on items that benefit from it.
5. Upload at the Right Size
QR Menu supports image uploads up to your plan's storage limit. Aim for images around 1200×800 px at 80% JPEG quality — sharp enough to look great on Retina screens, small enough to load fast on mobile data.
Update Photos Anytime
Retook a better photo? Replace the old one instantly from the product editor in your dashboard. Unlike a printed menu, your digital menu is always as fresh as you want it to be.